Kilns around the World
The first kiln I built in 1994 was such an intimate experience to fire. Knowing the kiln from the inside out during the firings allowed me to anticipate problems and account for variables. Your clay choice, how you load, and how you fire all effect the way the work looks. The design of the kiln is equally important in its relationship to the pottery. This pages documents some of the kiln building projects and workshops I have lead, and has some resources that might help your own kiln building project.
In 2023, working with Lisa Orr, I modified her Rocket klln design to make a firebox that could be built simply, with cutting the fewest bricks. We have made the plans available for anyone to use.
This version offers a downdraft chamber solution that allows for reduction atmospheres and more even firings.

TAIWAN TRAIN KILN
-
![]()
We arrived in T aiwan to a kiln builid that had already been started. Meng Che had poured a concrete pad, with steel buttressing the first 11 courses of brick. This gave us a headstart but also a challenge of working with the dimensions already in place.
-
![]()
We had excellent help with Yumi an artist from Taiwan, and Yi Xing, a resident at Jing Clay. Here they are continuing the build with a few differences in construction meathod..
-
![]()
We began dipping the brick in a fire clay wash to ensure everthing was tight and level. This helps to even out small discrepancies, and leads to a tighter build while still allowing the bricks to move during heat expansion.
-
![]()
A view of the flu and the chimney. The flu is where the flame passes from the chamber and into the chimney.
-
![]()
Signe is laying arch brick down. They are resting upon the arch form until they are spanning across the kiln and can support weight above..
-
![]()
Due to the risk of earthquakes Simon decided to build an arch as support for the walls of the firebox. In the train kiln build in New Hampshire (see section below) this was achieved with an H-shaped tower, that supported lintels.
-
![]()
Yi Xing and Meng Che is preparing a mold to cast above the arch creating a flat surface on which to build the firebox.
-
![]()
Anthony screeing the castable flat and even.
-
![Meng Che Signing the kiln]()
Meng Che signing the kiln
-
![]()
Setting spacers for the 2" stainless steel bars. You can also see the laser level we used to keep the kiln square.
-
![]()
Simon determining the main stoke for the Bourey box.
-
![]()
Every gap is filled with a mixture of fire clay and sand. This seal helps control the amount of oxygen in the kiln.
-
![]()
Cracks are filled inside and out
-
![]()
Ok, this is just a cool picture. Yi Xing has a lot of construction experience this coupled with a great attitude was invaluable during the build
-
![]()
Yi Xing, Xiao Ma, Meng-Che and Anthony finishing the Bourey Box. This was an interesting build working with a steel buttressing that was already in place when we arrived.
-
![]()
Simon decided to use a modular compression lid designed by Roman Sonyk rather than arches. The frequency and devistation of earthquakes makes for difficult arch repair. This design can be stored on the floor, and broken brick are easily replaced.
-
![]()
Covering the Bourey Box
-
![]()
All in all there are 14 lid units that span both the chamber and the Bourey box.
-
![]()
Signe cutting the metal for a double hinged stoke door.
-
![]()
Xiao Ma and Yishin is testing the door
-
![]()
Finishing the double hinged door.
-
![]()
That's a beautiful thing
-
![]()
A view throuth the roof as we resolve the damper slots.
-
![]()
Cutting a hole for the chimney
-
![]()
Simon and Yi Xing on the roof chasing courses of brick around the chimney,
-
![]()
Anthony and Sung Yu finishing the chimney.
-
![]()
To clear the tio of the roof we had to build a rediculously tall chimney.
-
![]()
The finished Jing Train Kiln. It wasnt until we were firing it did we find out this is the first train kiln in Taiwan.


NEW HAMPSHIRE KILN BUILD
-
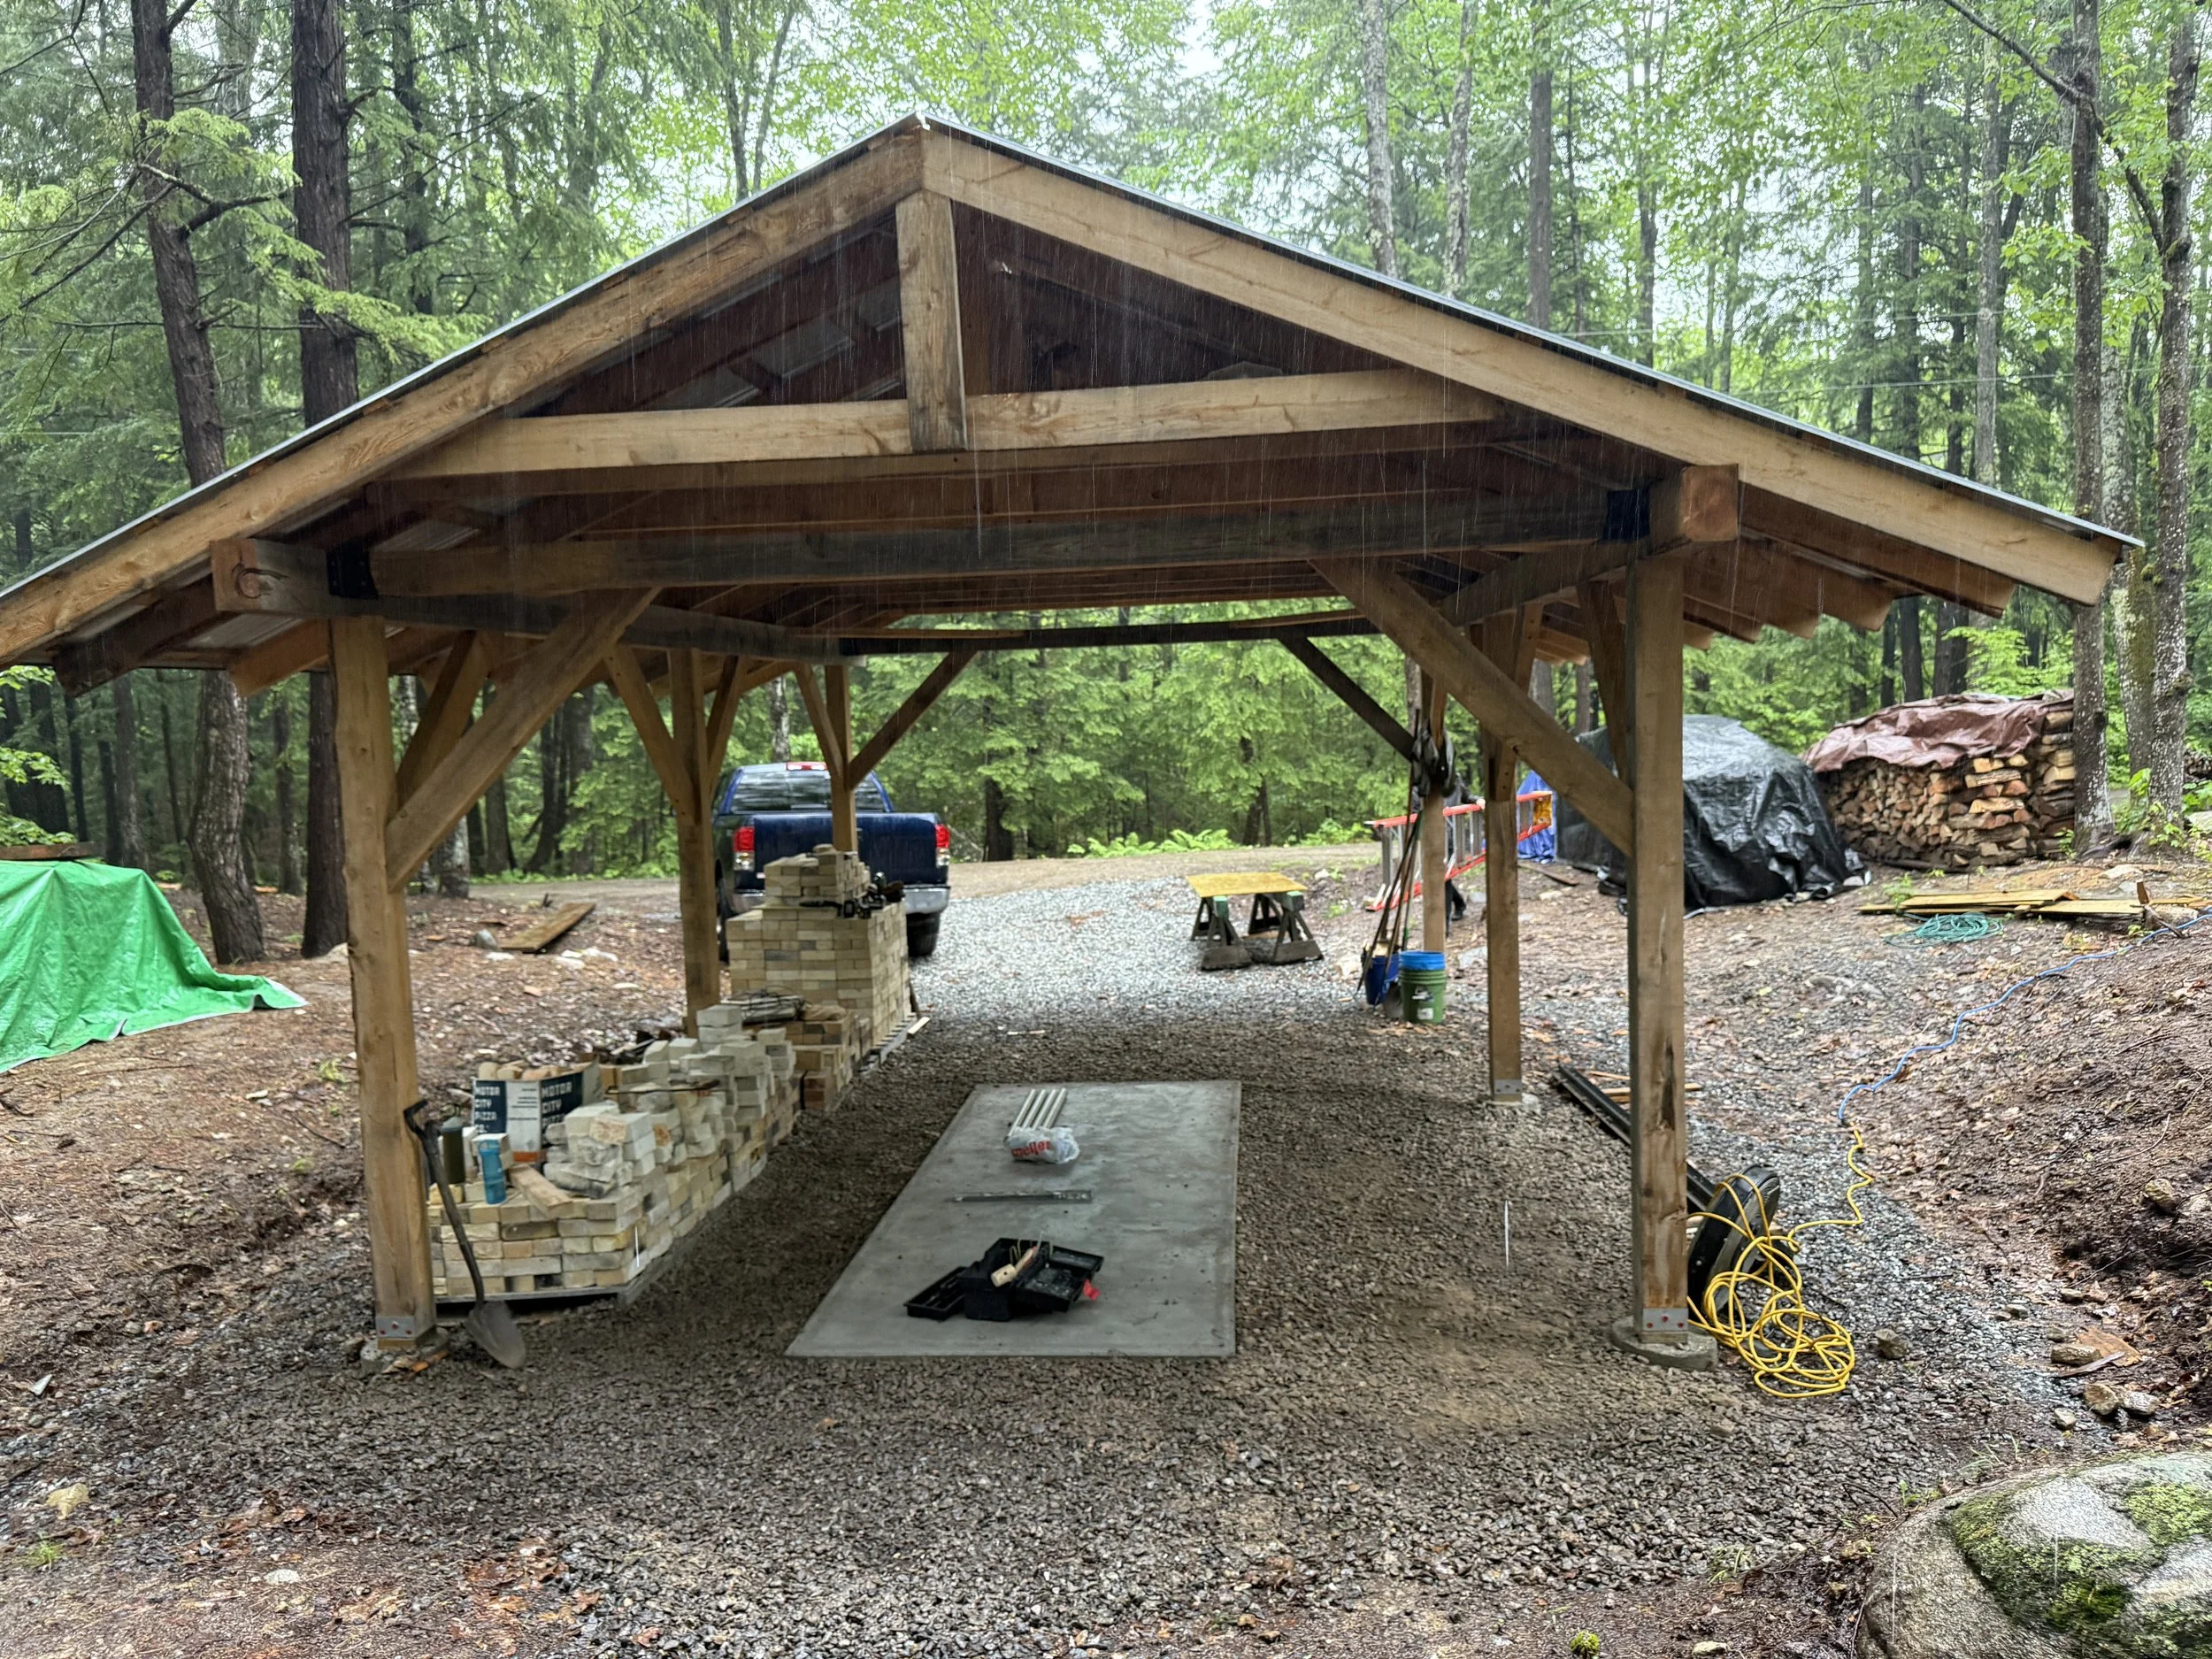
![Construction of a wooden shelter in a forested area, with construction tools, stacked bricks, a truck, and logs in the background.]()
The kiln site in Sandwich, New Hampshire - foundation perfectly levelled and ready for us to start building. Simon was hired to build this kiln for a private potter, and brought his apprentices along
-
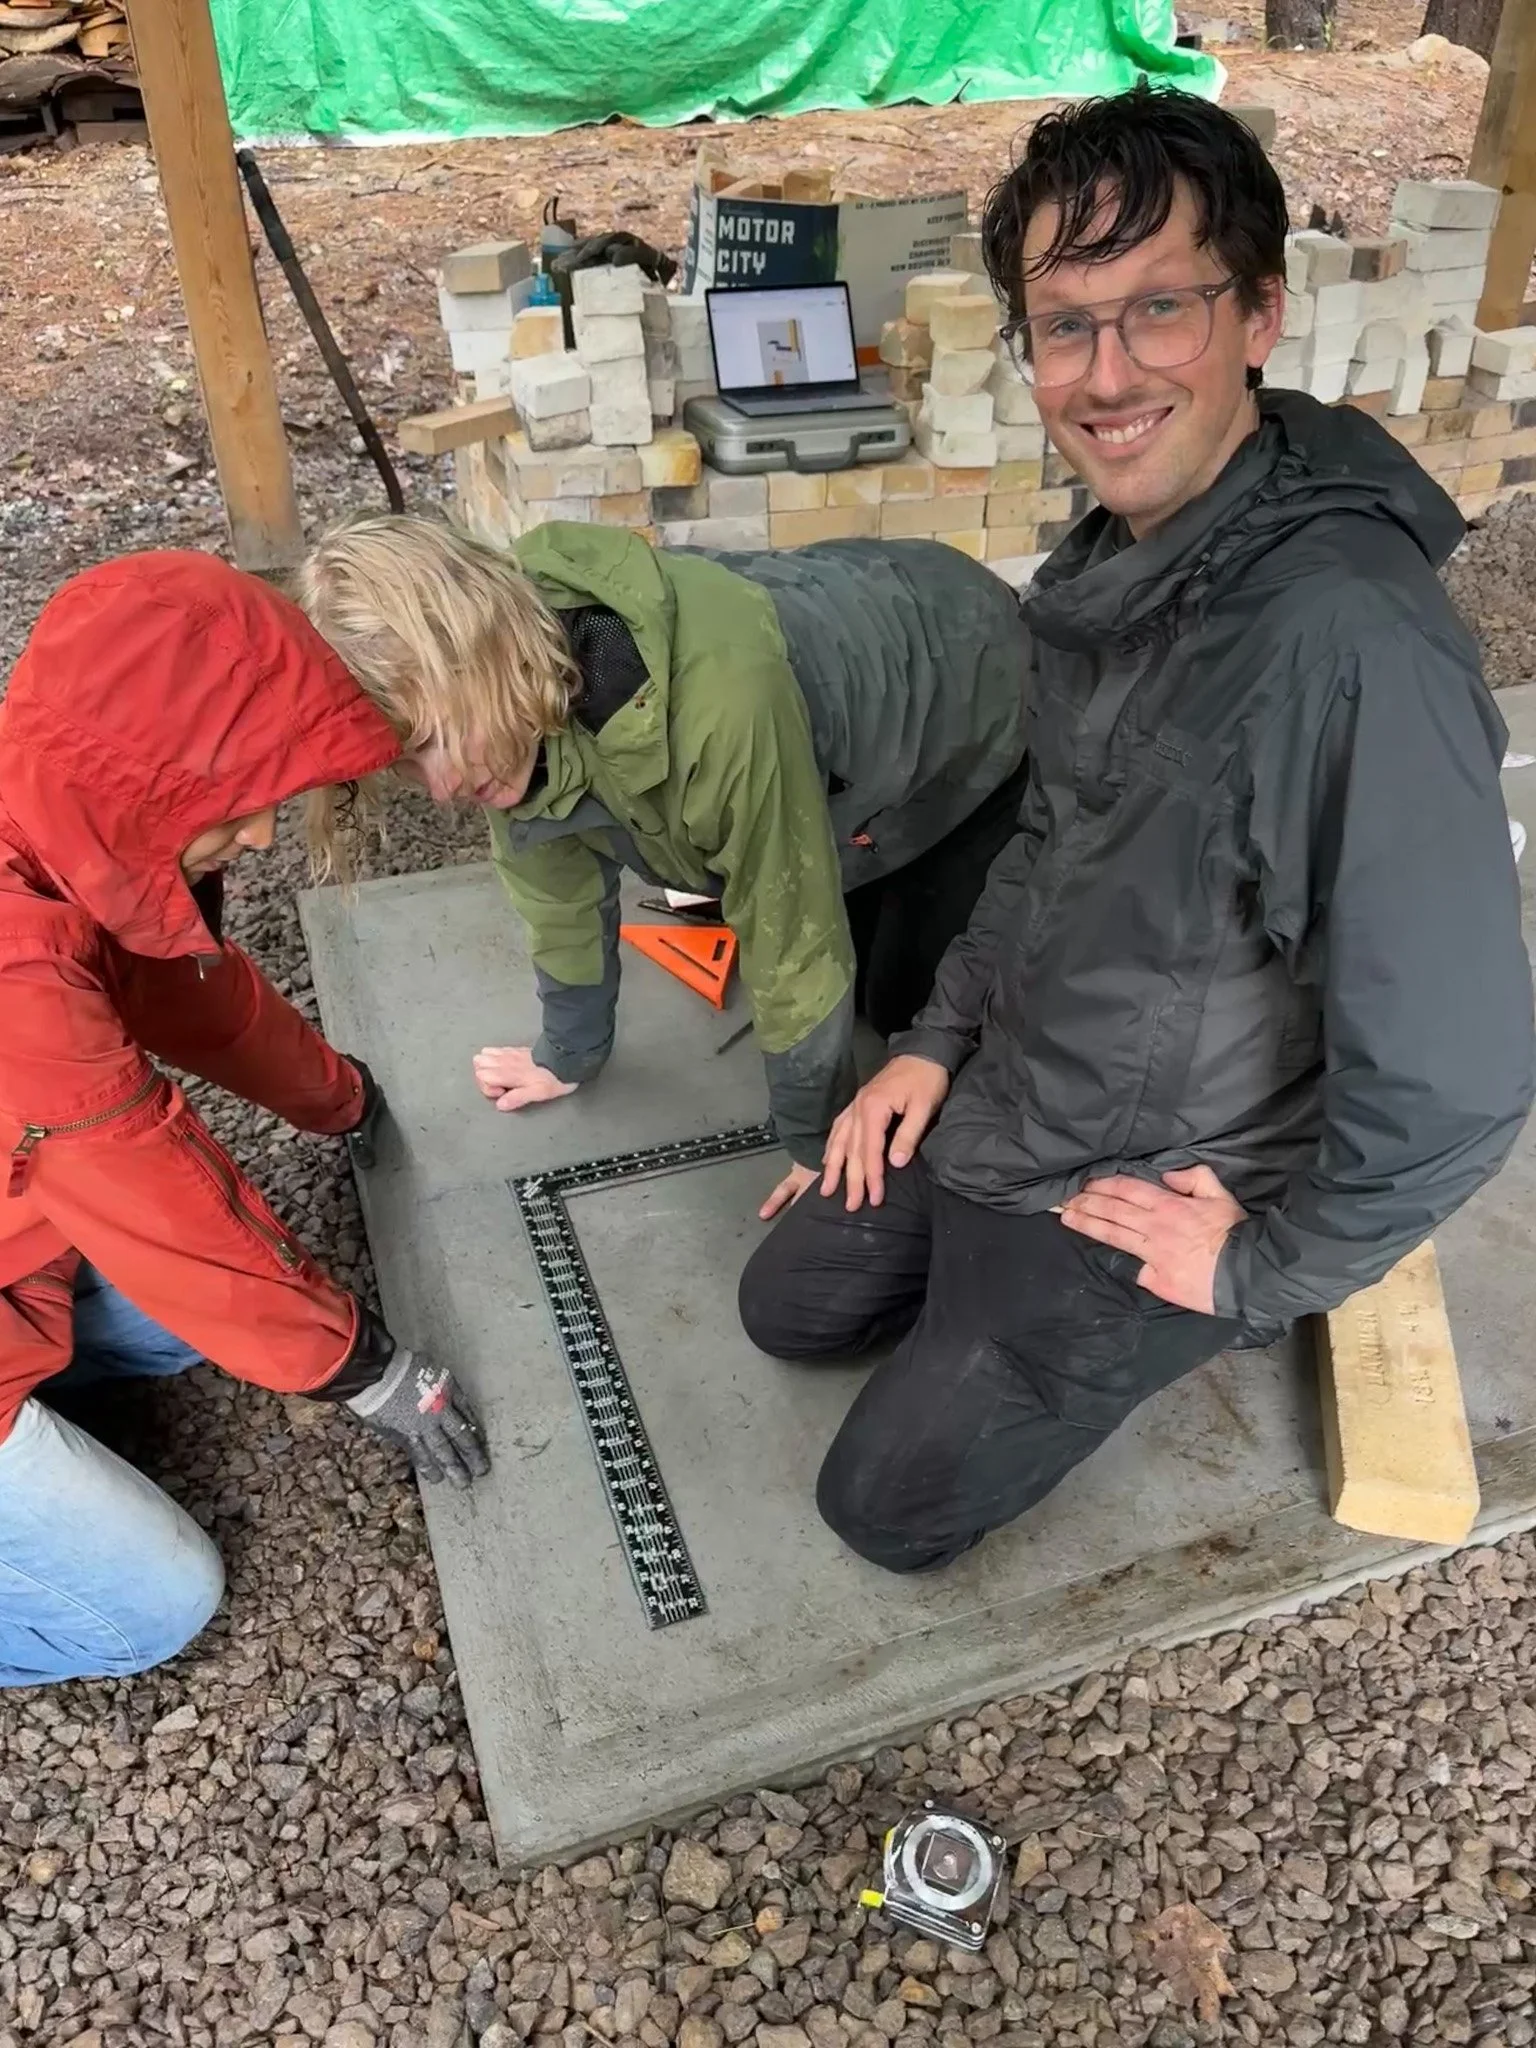
![Three people working on a construction project outdoors, with one kneeling on a concrete slab, measuring with a ruler, and two others kneeling and leaning over the slab. One person is smiling at the camera and wearing glasses. Construction tools and materials are visible, including bricks and a monitor in the background.]()
Jack Mauch and two of the three apprentices, Signe Kloeve and Arwa Nasrulla, marking the boundary of the kiln.
-
![A person wearing a red jacket and hood kneels on a concrete slab, using a measuring tape or tool, with a white towel or cloth beside them, outdoors in a wooded area.]()
Dropping the plumb to mark the center of the kiln.
-
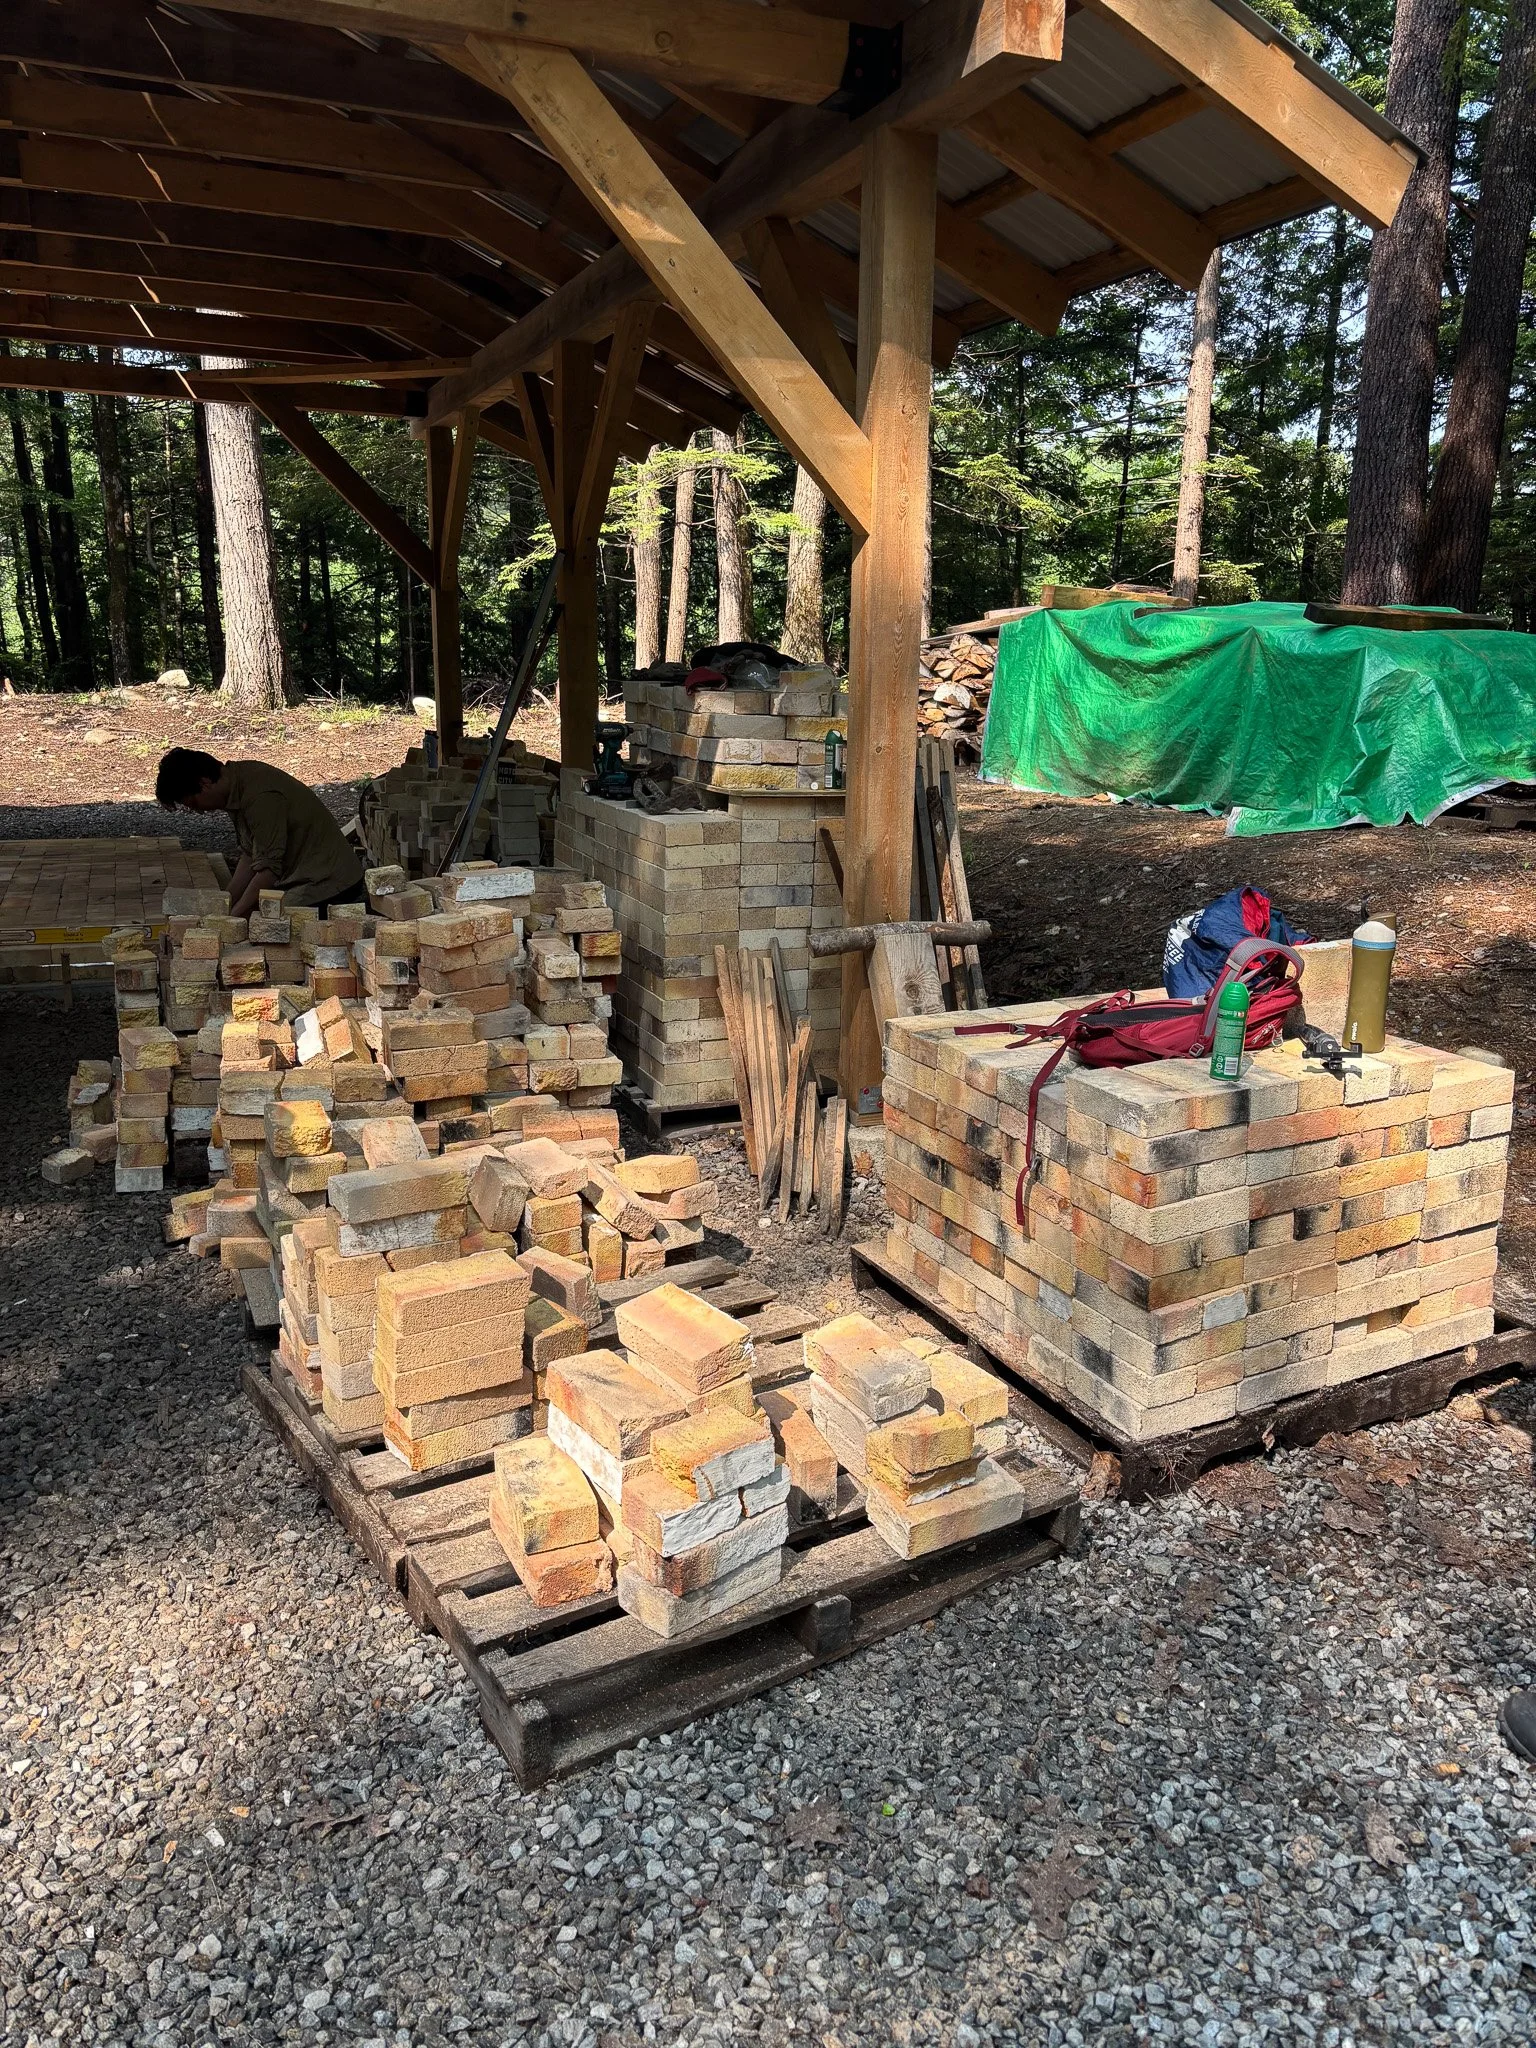
![Stacks of bricks and construction tools under a wooden shelter in a forested area, with a person working and tools on a table.]()
This build was full of fun challenges, we were working with a wide assortment of used fire bricks.
-
![A woman smiling and kneeling on the ground next to a freshly poured concrete slab, with construction tools around her, at an outdoor construction site.]()
This kiln was built for Suzanne Weil, a dear friend and former student, Here she is laying the first brick.
-
![People constructing an outdoor brick-paved space under a wooden shelter in a wooded area, with a reflective surface covering part of the bricks.]()
After laying the first sub-floor layer, we applied tin foil as a vapour barrier, since the kiln foundation was still curing
-
![Three people working outdoors on a brick patio or pathway under a wooden structure, with one person sitting, one using a level, and another standing nearby, surrounded by stacks of bricks and forest trees.]()
Jack Mauch double checking levels on the chamber floor.
-
![People constructing a brick structure outdoors under a wooden shelter, surrounded by a wooded area.]()
We had a large group of people working on this kiln. As one team was laying brick, another helped prep the next layer.
-
![Three people working on a bricklaying project outdoors under a wooden shelter, with trees in the background.]()
Everyone also took turns in sanding the remaining mortar off both soft and hard brick on cinder blocks
-
![Two people working in a cluttered workshop or garage. One person is bending down, wearing safety ear protection and glasses, handling a long metal pipe or rod, while the other person is in the background using a power tool on a workbench.]()
Aarti Manik and Anthony Carrillo, the third apprentice, cutting rebar and tie rods for the compression lids.
-
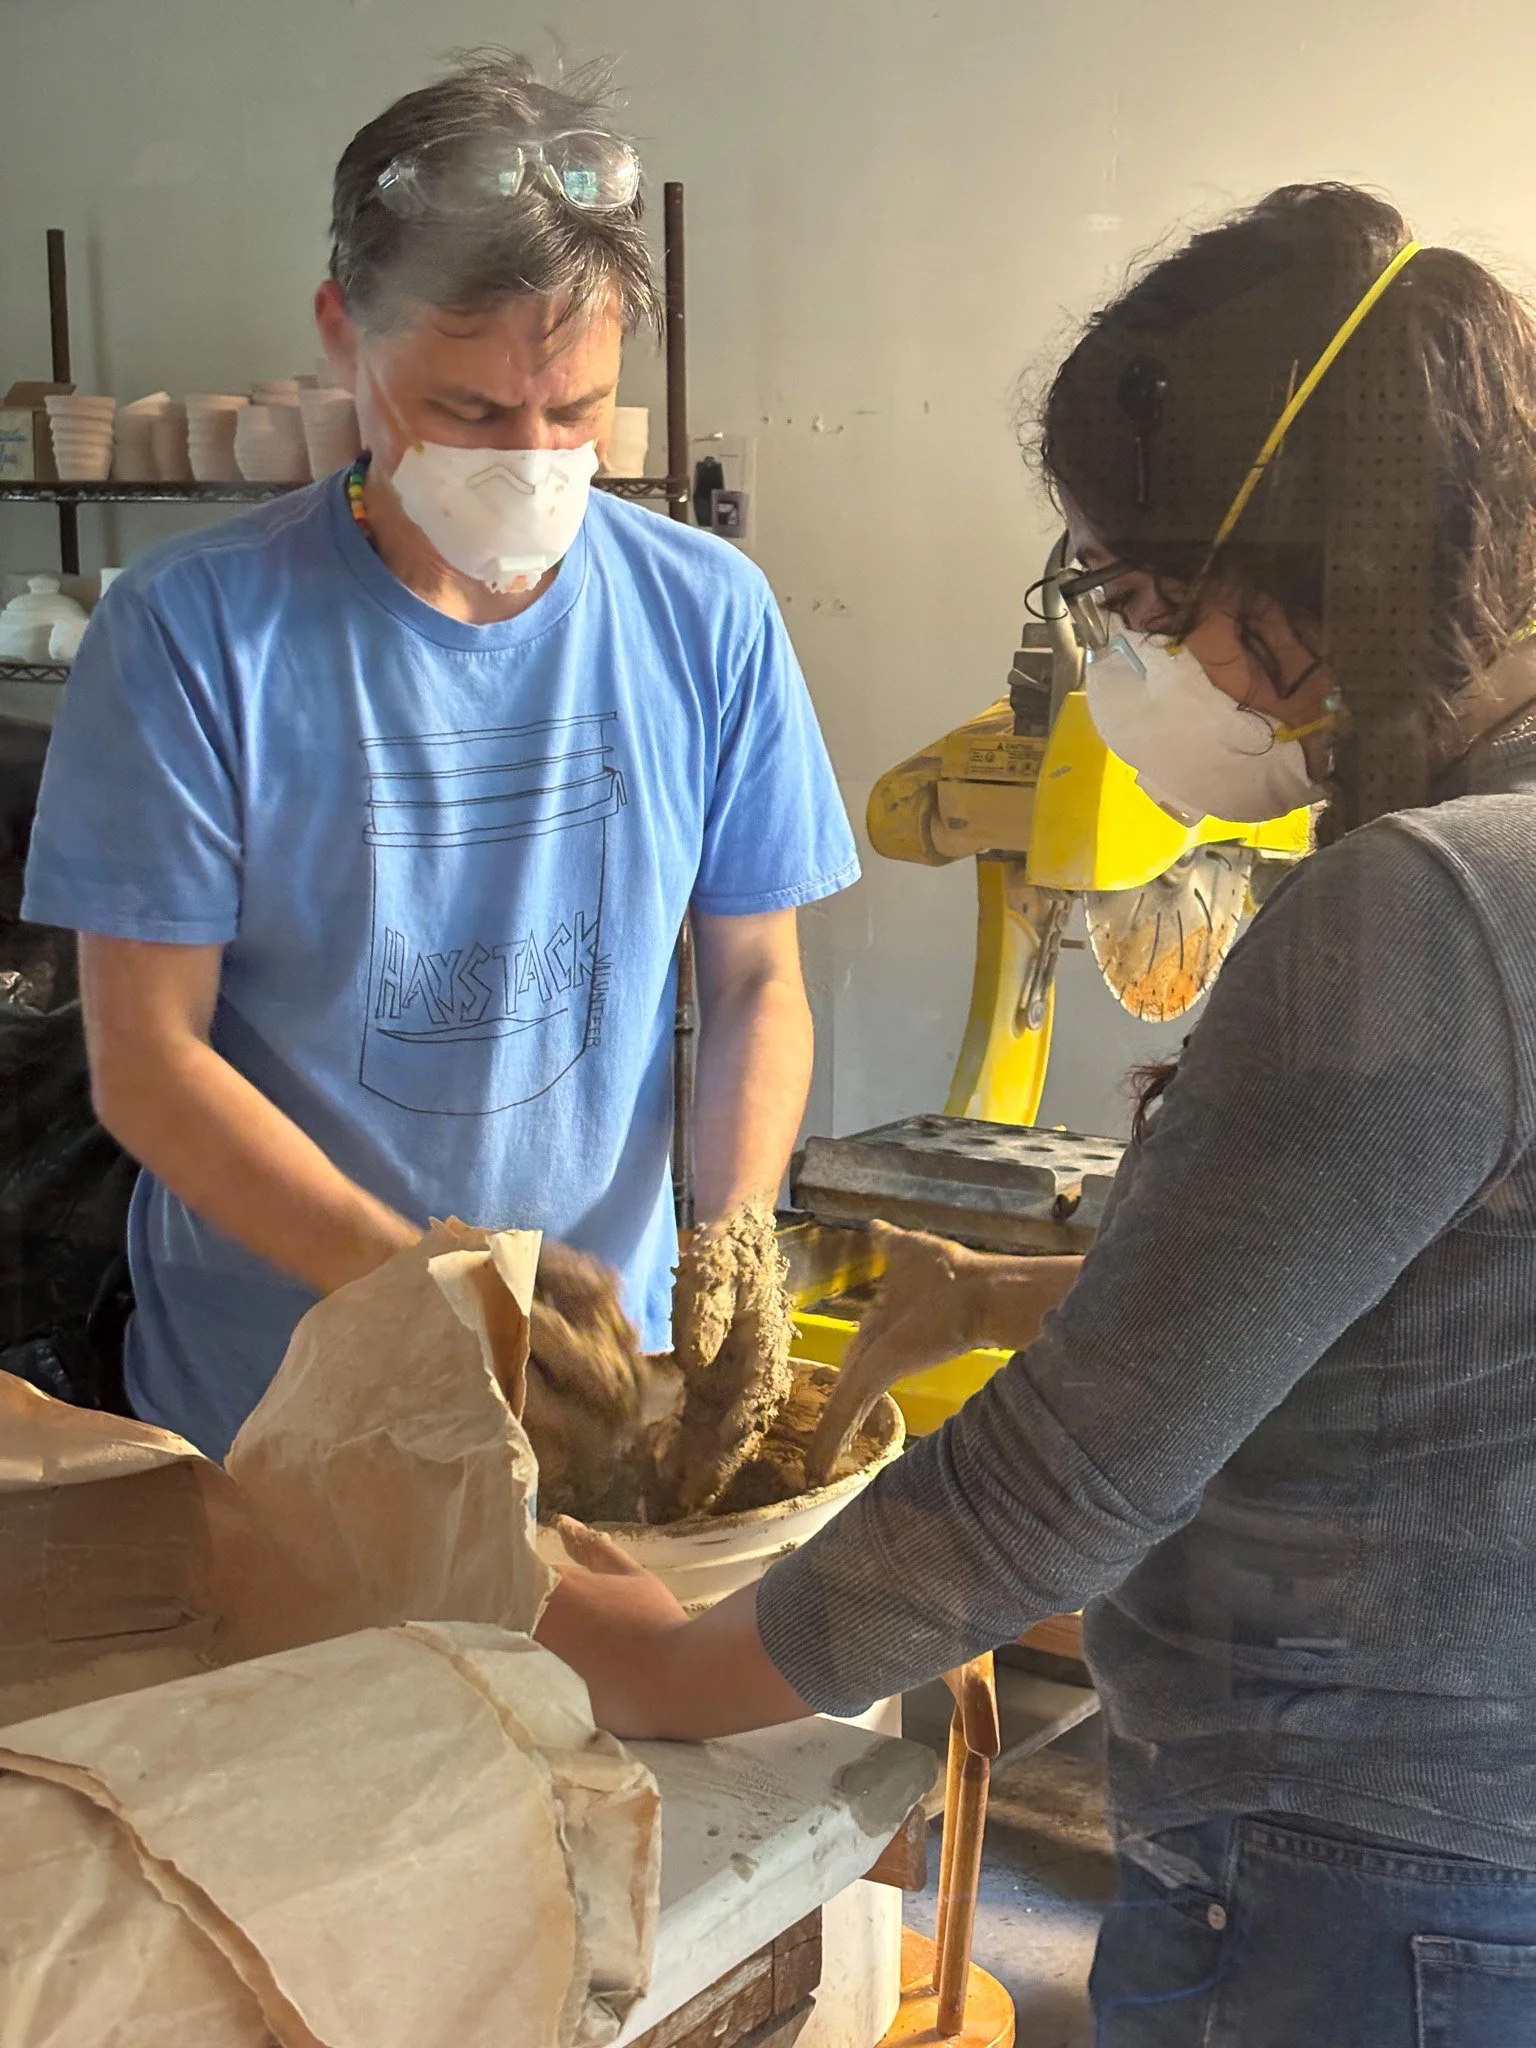
![Two people wearing masks and safety glasses are working together in a workshop, mixing or handling a material in a large container. There are work tools and supplies on the table and a yellow machine in the background.]()
Nick Sevigney and Rosella Rentas helping make chinking and fireclay wash.
-
![People building a brick wall under a wooden shelter in an outdoor construction site surrounded by trees.]()
Every five layers, we tie the courses together row-lock layer, using this layer to ensure the kiln’s structure is level.
-
![A partially built brick arch on a weathered wooden surface outdoors, with construction materials and a blue tarp visible in the background.]()
The original plan was a flat roof over the bourry box, but we got creative with the materials on hand, using every spare arch brick and skew that had been sourced.
-
![Person measuring with a tape measure on a brick structure with laser level lines, construction tools, bricks, and mortar.]()
The laser level proved invaluable for keeping the center points perfectly aligned throughout the build.
-
![A person wearing a red cap, black jacket, gloves, a mask, and ear protection is sitting on the floor welding a square metal frame. The workspace has tools, bags, and equipment scattered around, including a yellow power cord, a brick, and a workbench with various supplies.]()
Tina Opp working on welding the door for the bourry box.
-
![Four people are working on a brick fireplace in an outdoor construction site with a wooded background. They are discussing the project, with a yellow level tool placed on the bricks.]()
A tower of brick for the lintels that support the bourry box.
-
![Four people working together to build a brick outdoor oven in a forest setting. The structure is partially completed with an open top and rows of bricks. There are trees and wood stored in the background.]()
The start of the chimney on one end and bourry box with its 2" thick stainless steel rod grate on the other.
-
![A bird's-eye view of three women working inside a narrow brick-lined space, possibly a cellar or basement, with construction tools and equipment around them.]()
Ann-Marie, Orion, and Rosella did a great job chinking the entire kiln, inside and out.
-
![Three people building a brick wood kilmn in an outdoor workshop, with trees and a parked car visible in the background.]()
Suzanne and Anthony installing the skews for the arch brick over the firebox.
-
![]()
As the build neared completion, we began running out of hard brick straights for the chimney. We got creative once again, laying alternating layers of arch bricks on their sides between layers of straight bricks.
-
![Two people working on building a brick chimney on a kiln shed, with one person on a ladder and the other on a platform, surrounded by wooden beams and a metal roof.]()
This lead to a really pretty pattern for the chimney.
-
![Building a custom wood fired kiln, with ladders and construction materials around.]()
The kiln before all the buttressing.
-
![Two smiling people in welding gear standing in front of a wood kiln stoke door, one pointing at it, outdoors in a construction area.]()
Tina Opp did a fantastic job welding the stoke door. We designed it to be double-hinged for easy usage.
-
![Group of people building a custom wood fired pottery kiln, in a forested area with green trees and blue sky overhead.]()
Was a real team effort passing the brick along to the top to finish the chimney.
-
![]()
Final touches of welding the buttresses for the kiln.
-
![]()
The arch over the bourry box. We then added another layer of soft brick scraps for extra insulation.
-
![]()
The Compression Lids — we built seven units, each made up of 38 pieces of soft brick.
-
![]()
The completed kiln - View 1
-
![]()
The completed kiln - This kiln was designed by Simon Levin using compression lids designed by Roman Sonyk.
-
![]()
The Crew — Everyone gave their all to finish this project in six days.





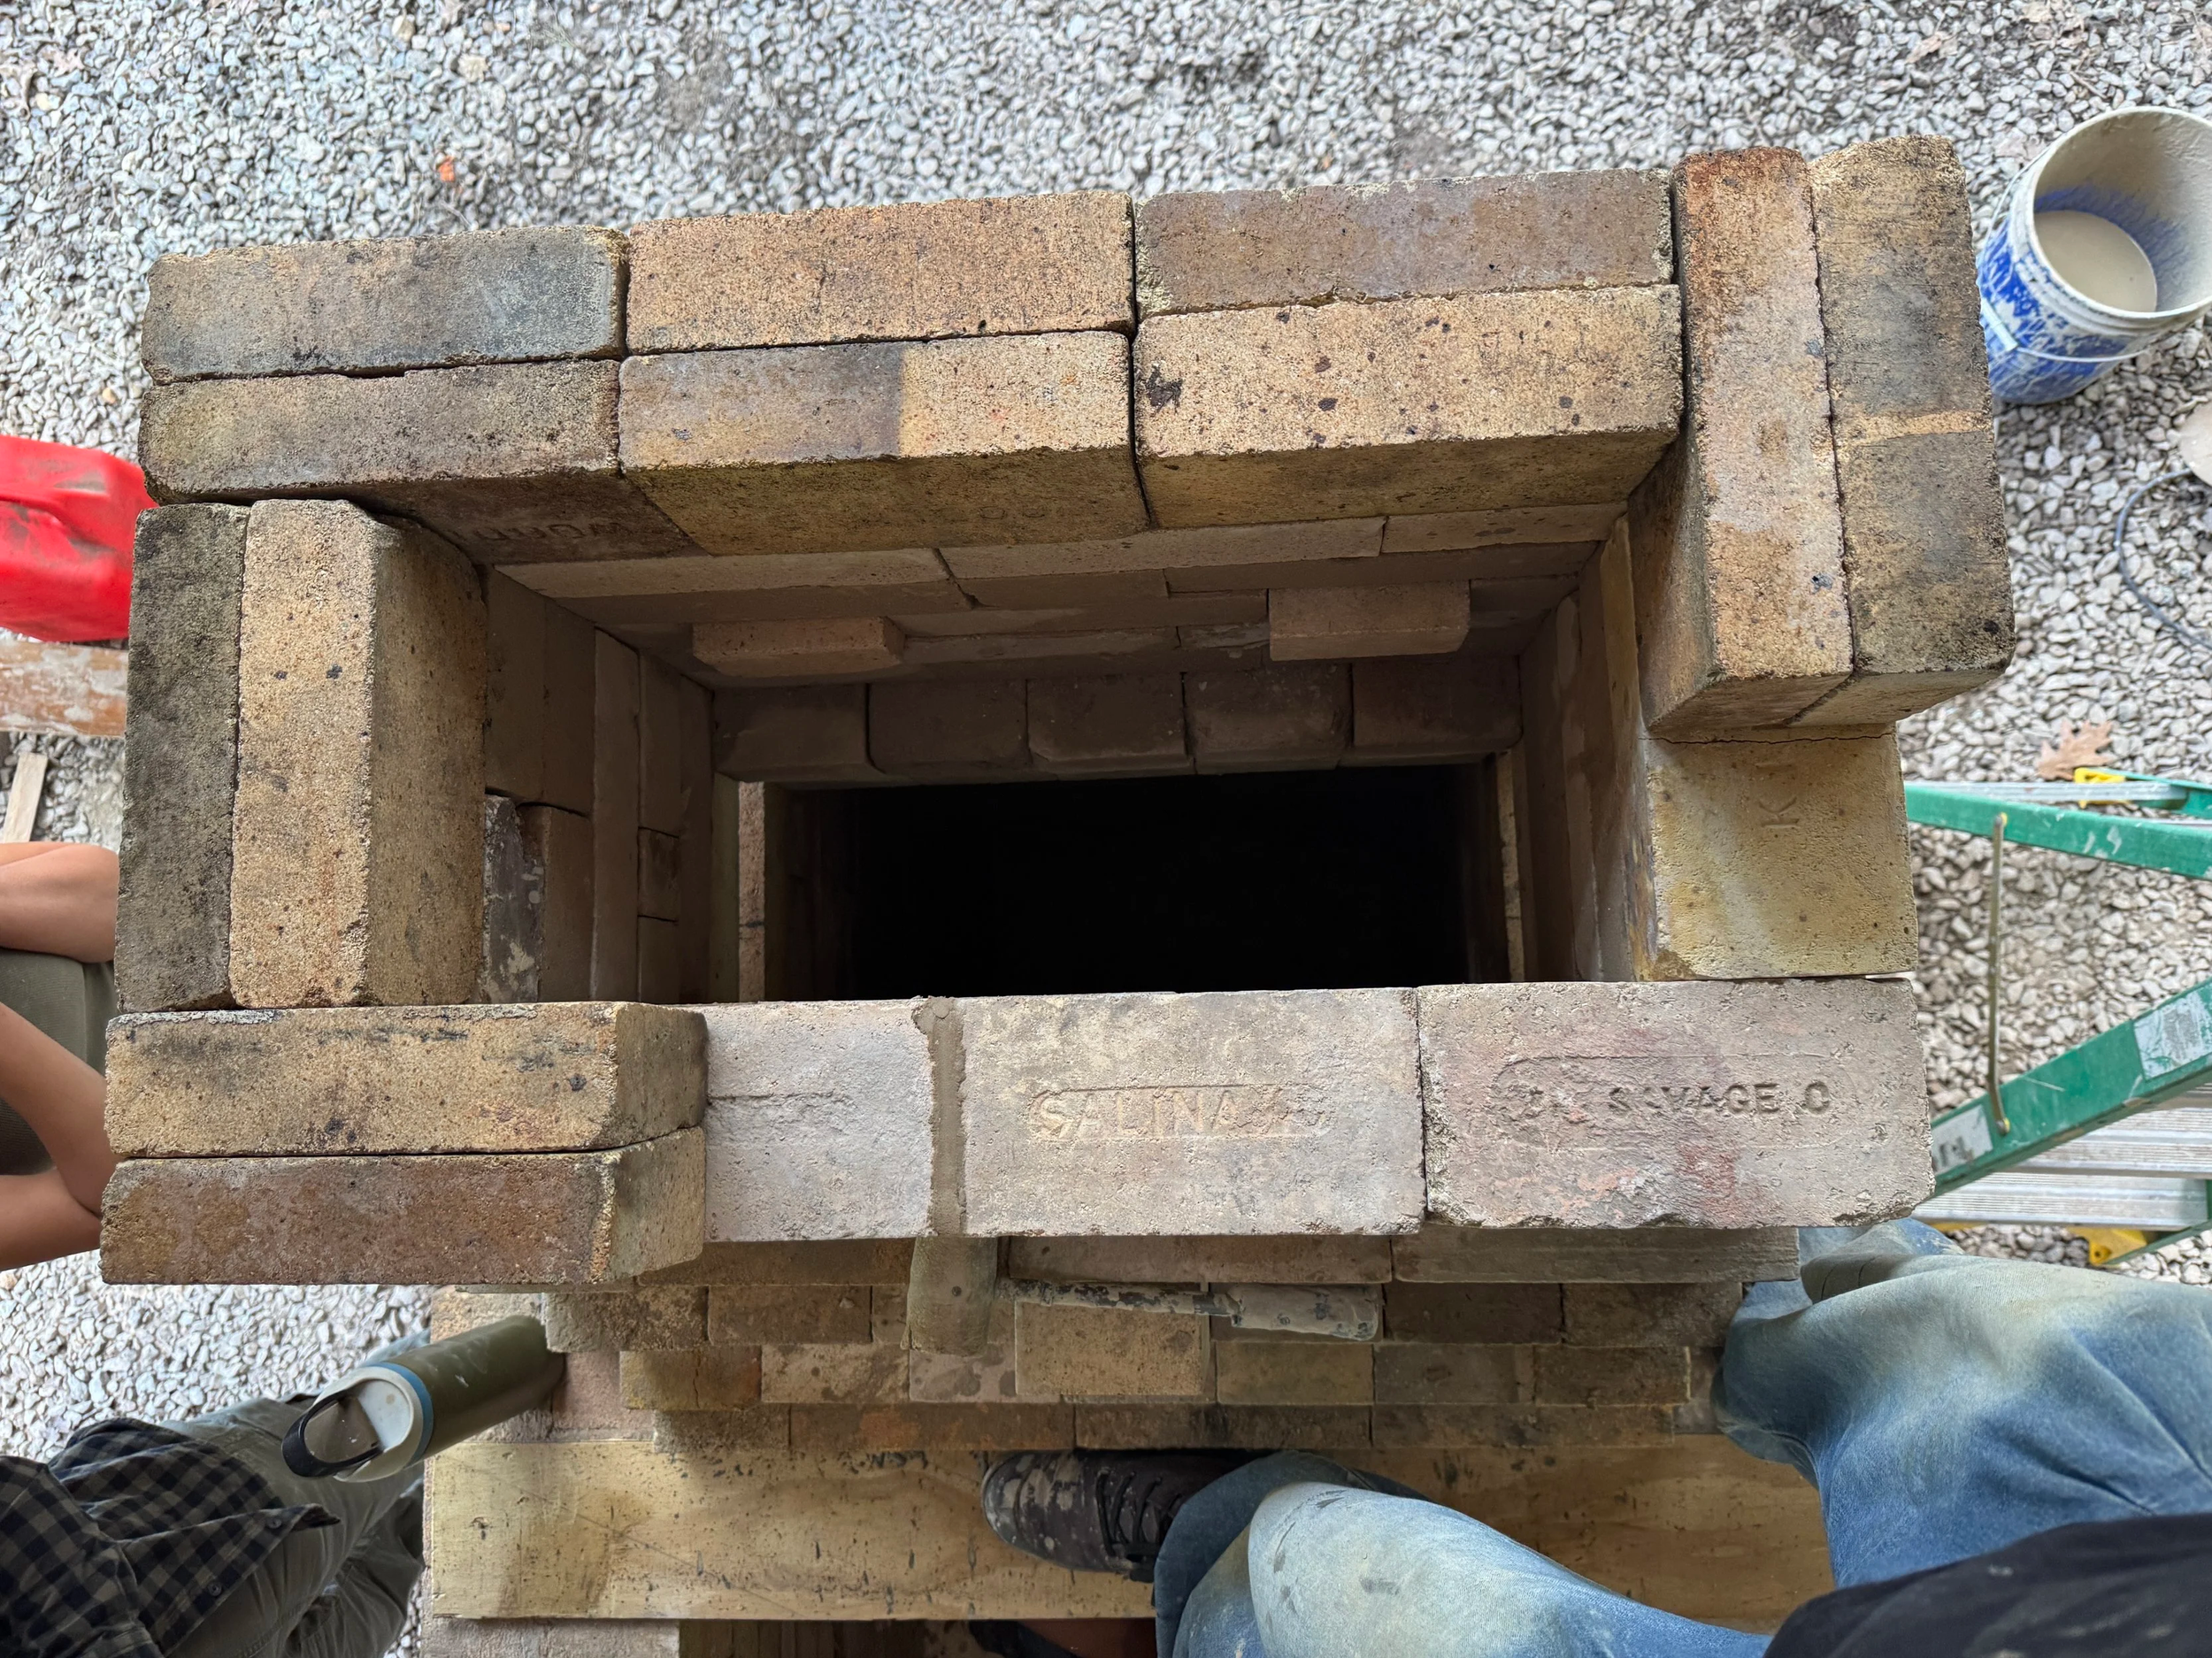


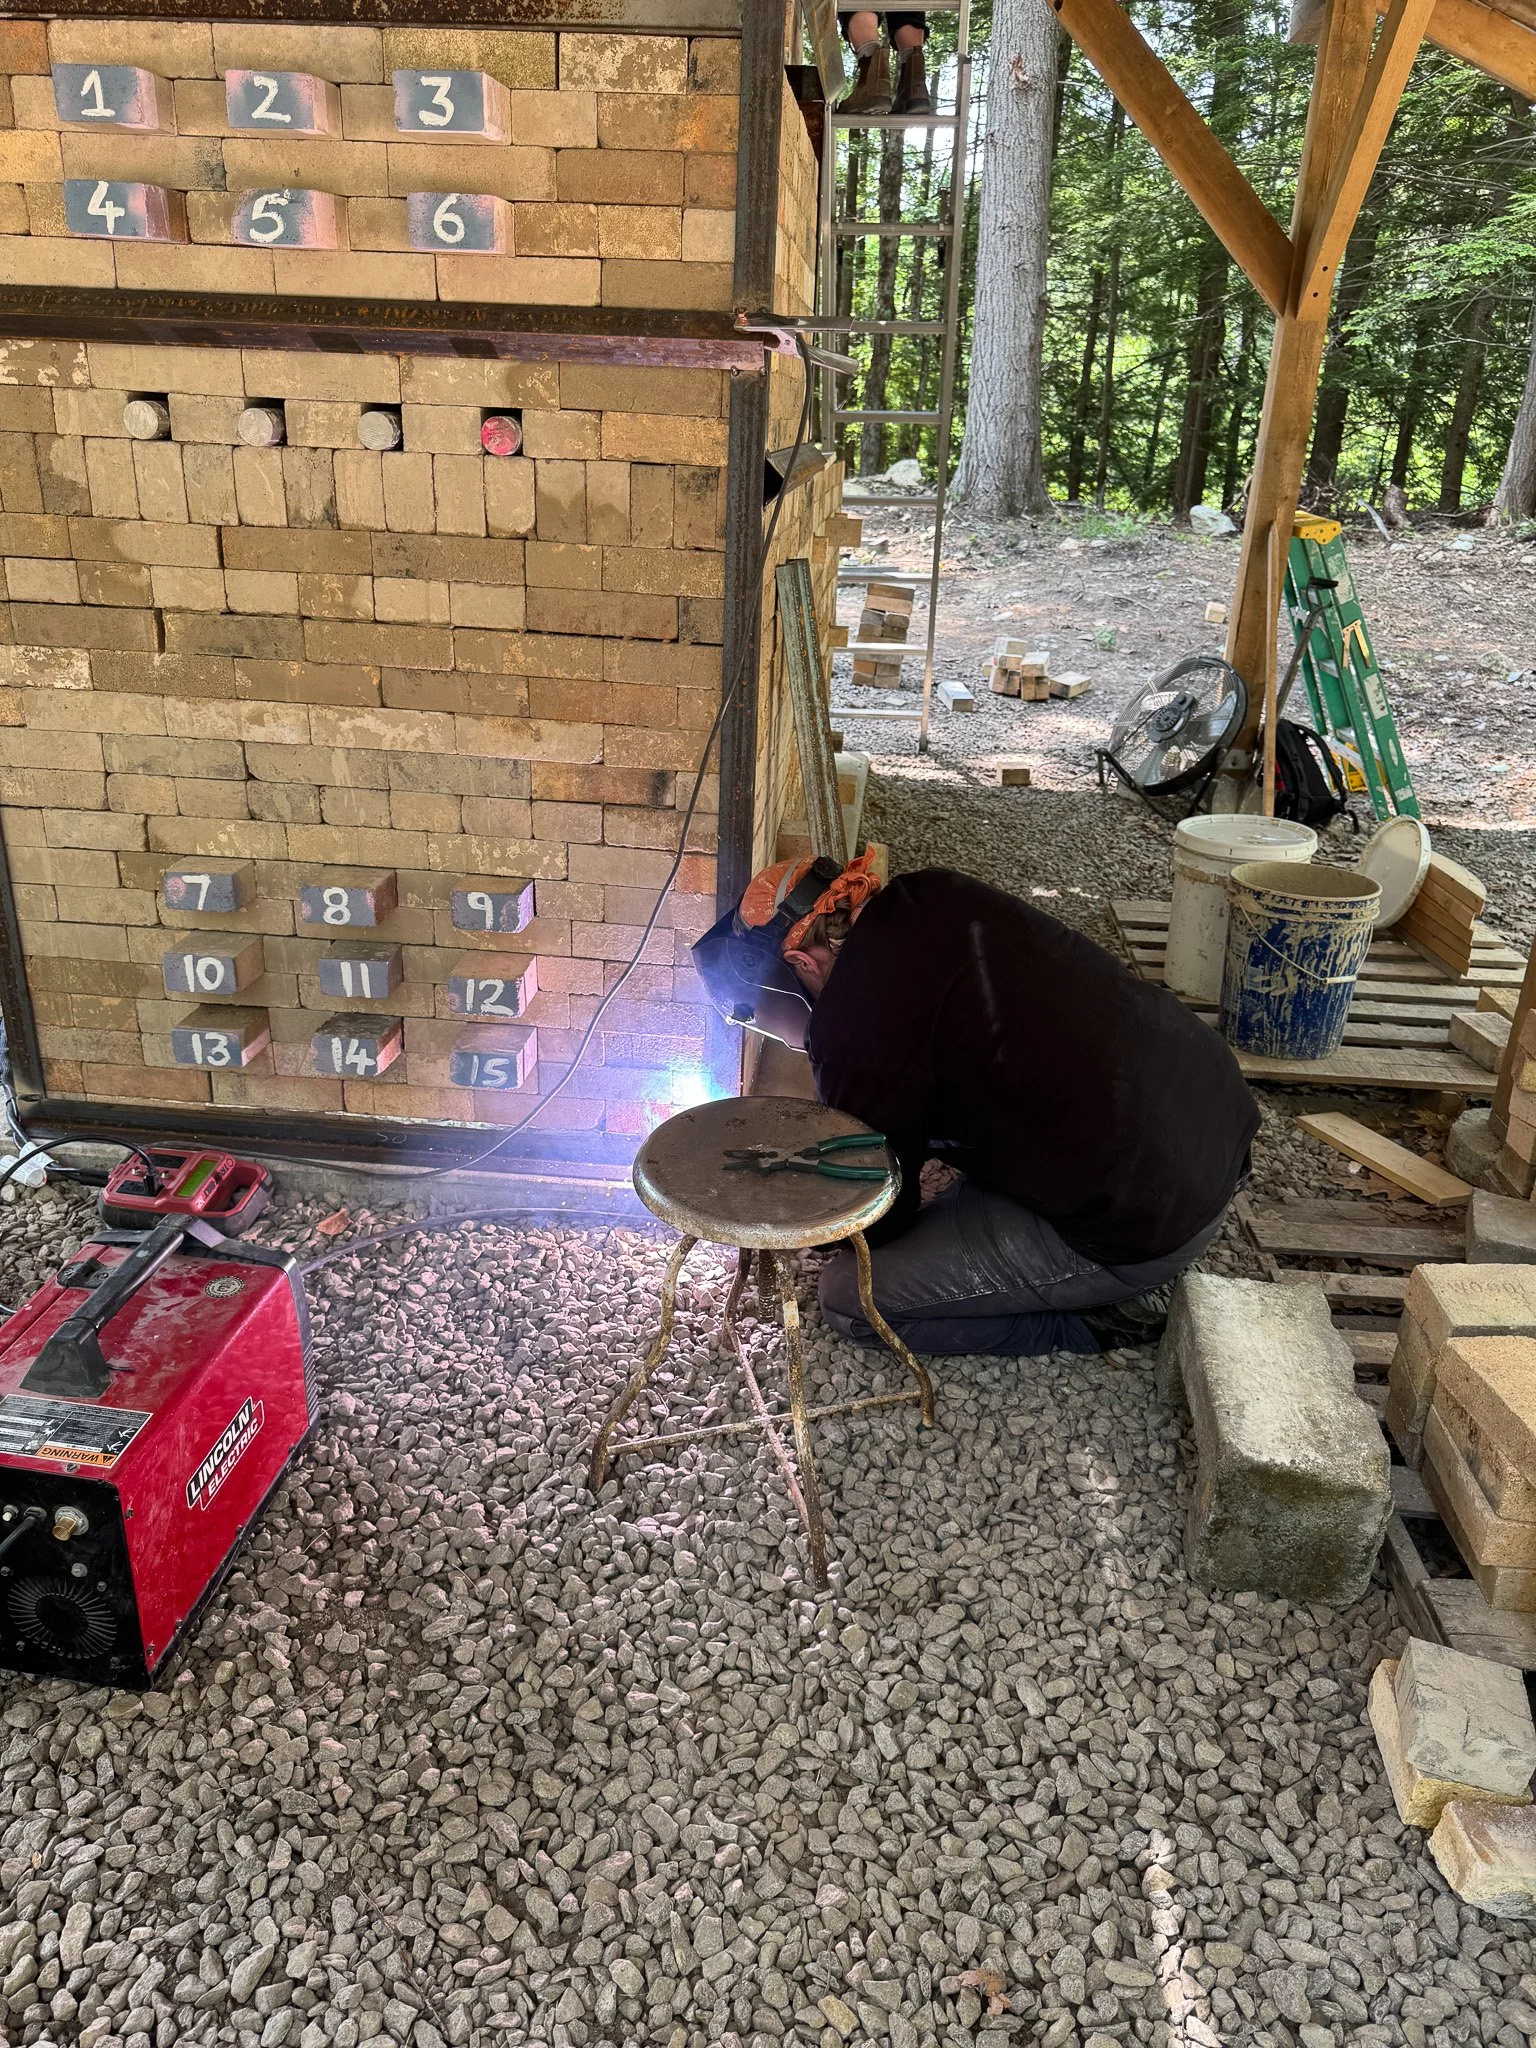


Want to own a kiln like the one featured in the New Hampshire Kiln build?
-
![]()
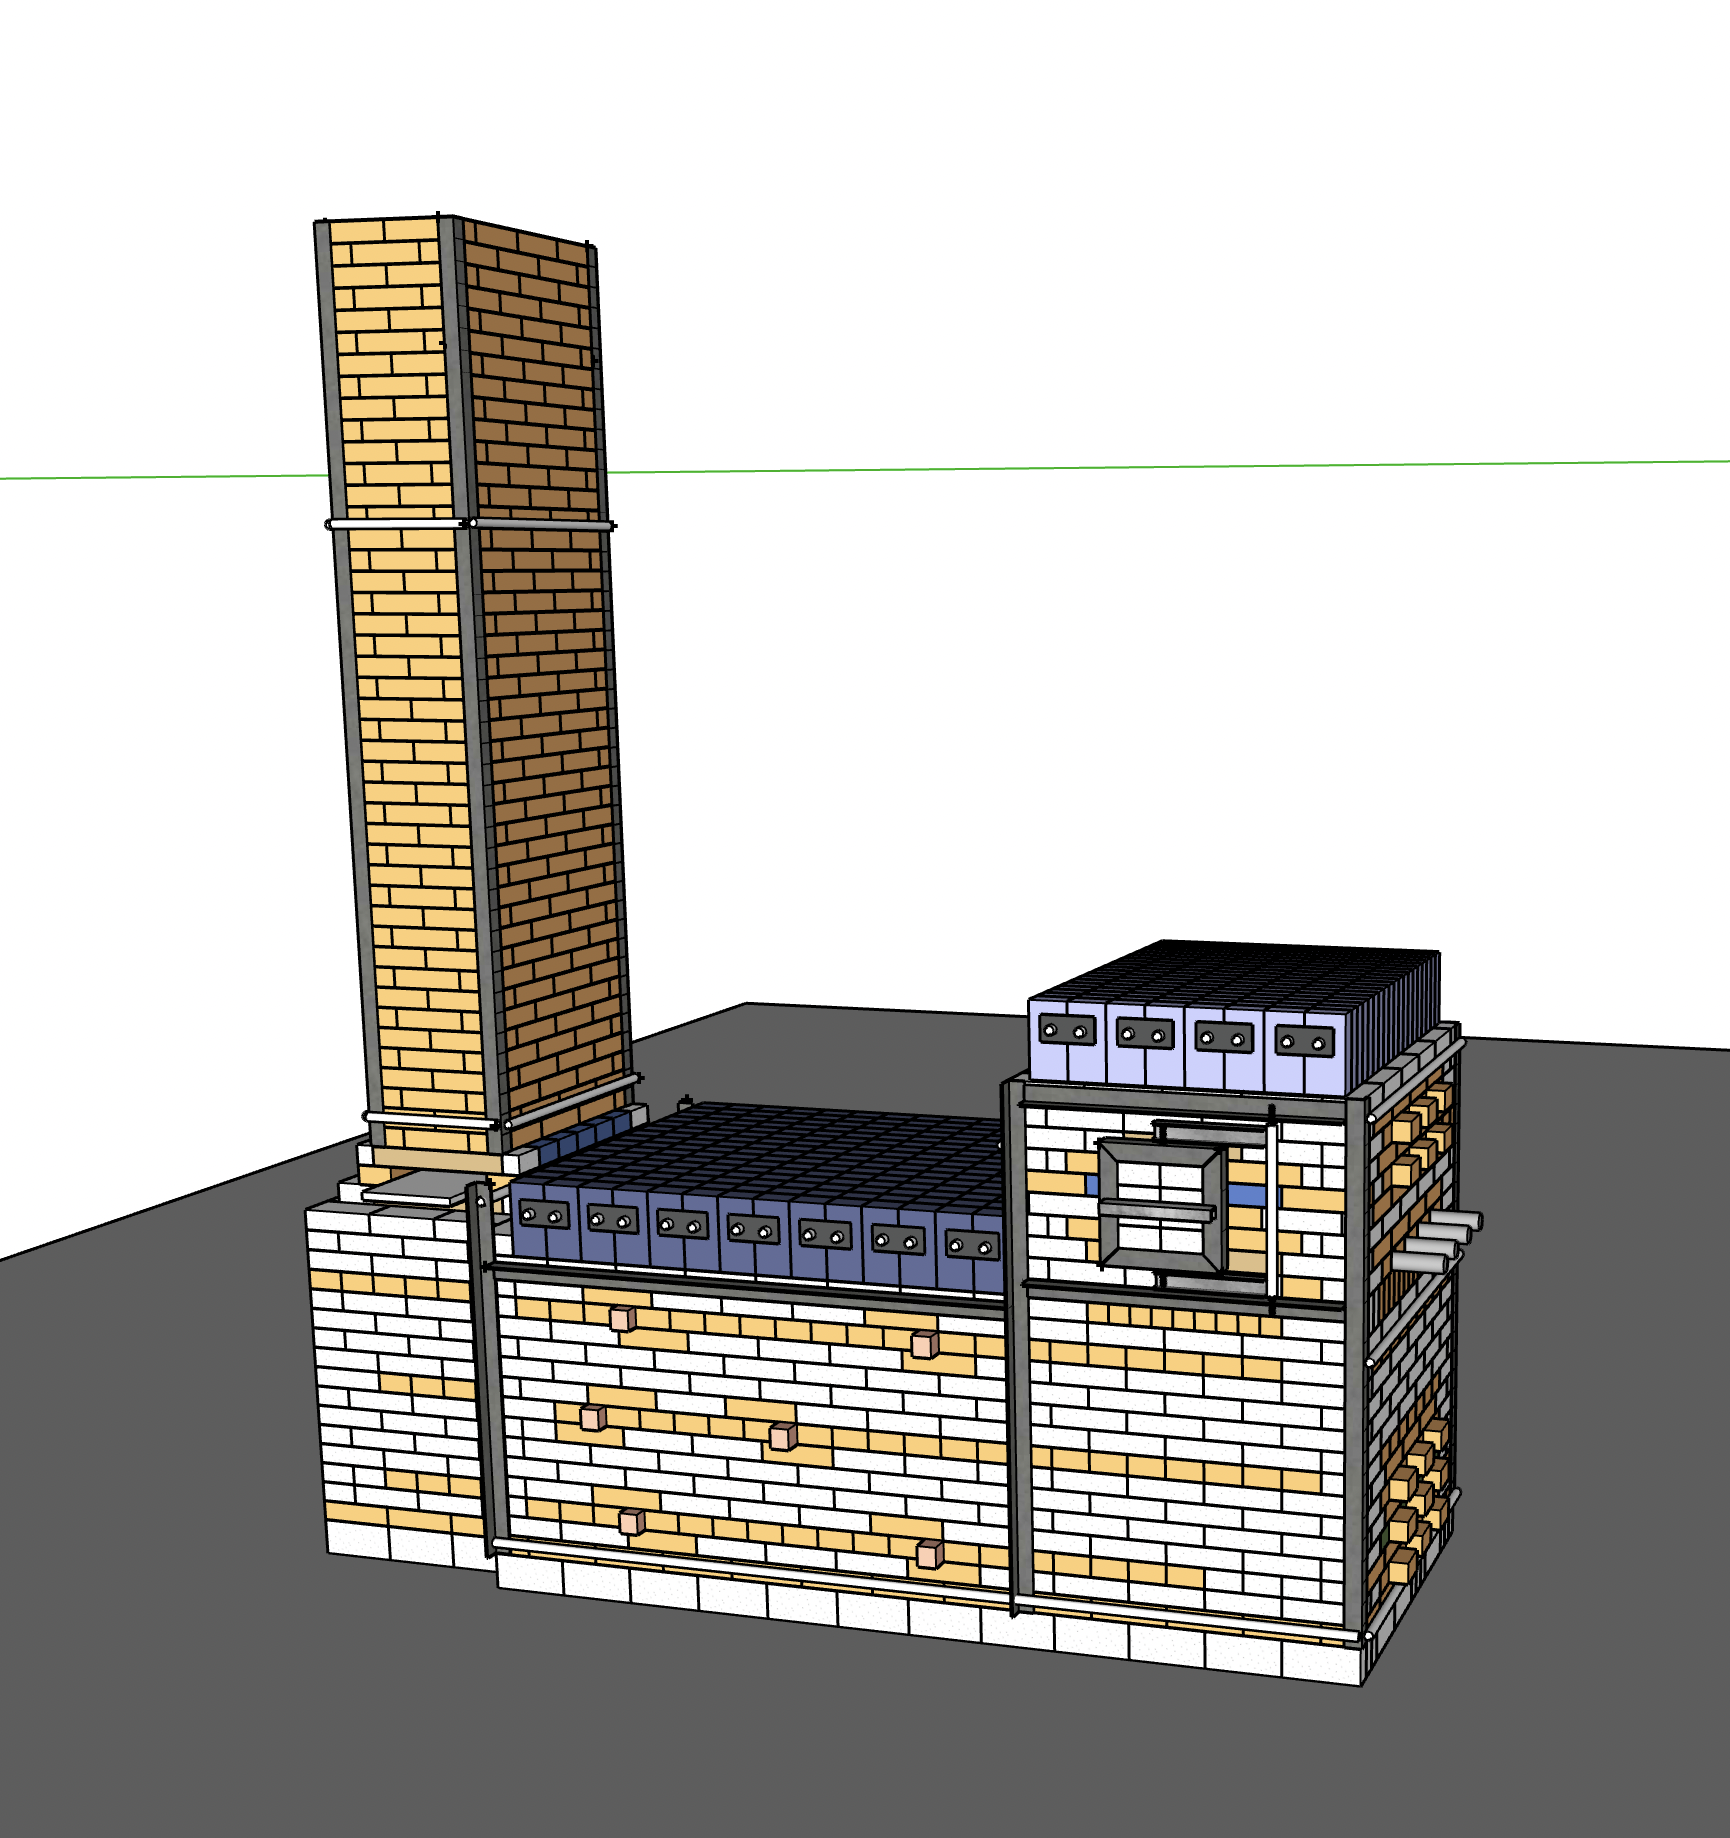
I am making these plans available for purchase. This kiln is designed to be an easy build, with the fewest brick cut, simple clear design plans and no tricky arches to build. An easy build in a week, even if you have never built a kiln before
-
![]()
The train klln was originally designed by John Neely as a way to put on a lot of lush woodfire surfaces in a short period of time. This small version is great for quick turn arounds and shortening the learning steep learning curve that is wood firing.
-
![]()
The plans for this kiln include every brick
-
![]()
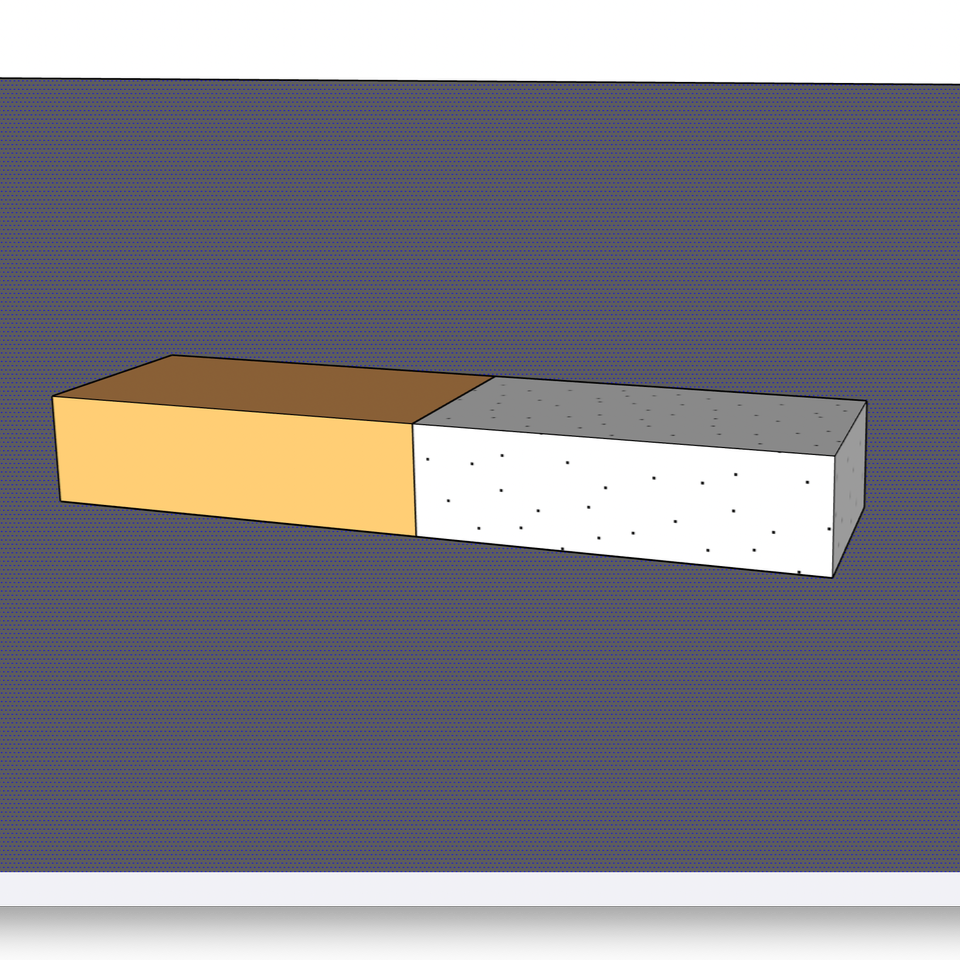
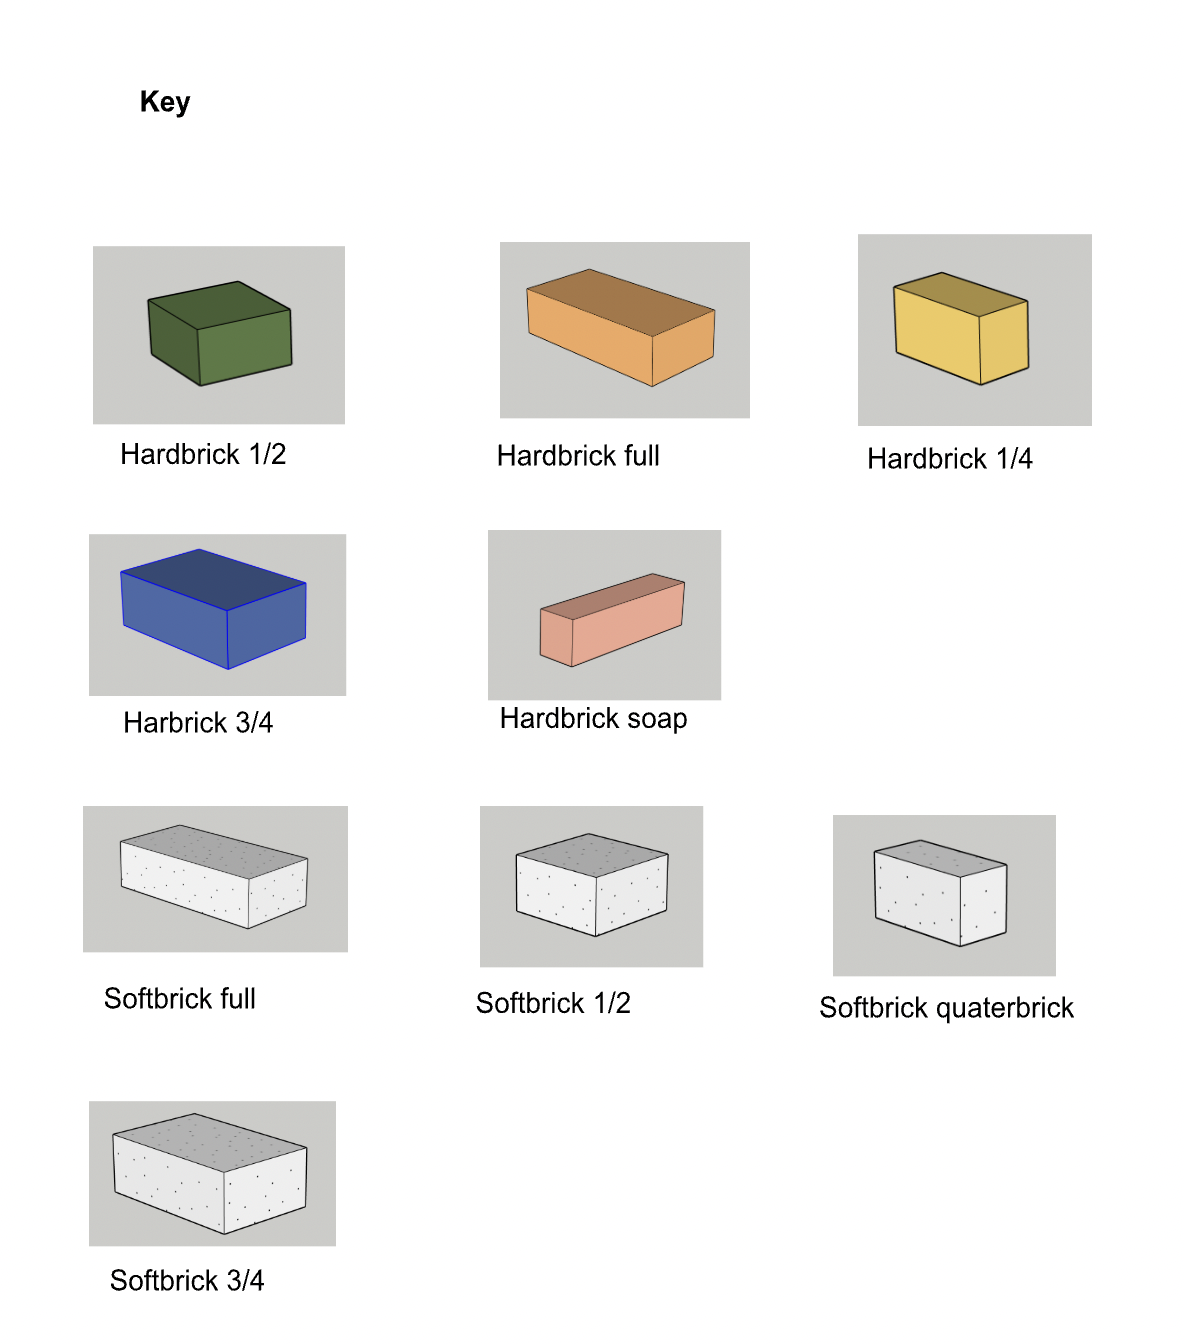
Clear differentiation of each brick type and size
-
![]()
The plans include a color coded key for clear readable designs
-
![]()
Every layer has each brick placement includes measurements a cut list a total of bricks needed for that level. This allows builders to prep the next level while the previous one is being laid.
-
![]()
This design uses flat top compressions lid sections designed by Roman Sonyk. These are easily replaceable if damaged. The beauty of this style of modular lid is that they can be easily lifted by two poeple and stacked to access the firing chamber.
-
![]()
Plans inlude diagrams and images from an actual build as a guide for each step
-
![]()
The modular compression lid.
-
![]()
This kiln and these design plans are made to be easy to follow and fire. The goal is to get you up and running and making beautiful woodfire pots as soon as you can.
-
![]()
Clear diagrams walk you through the building of a rotating door design. A great solution to keep the hot face of the brick away from the stokers.
-
![]()
Such a beautiful door solution. I am retrofitting my train kiln with just such a door.
-
![]()
The completed kiln




SHERIDAN KILN BUILD